Hi Everyone! Its been a very busy 2 weeks working on my newest project. I call it the Mozeleum on the Hill and Hidden Catacombs. Since this years miniature shows theme is- In Lieu of the Louvre- and to do with the French cities, I decided to do whats under Paris. Since Paris has some world famous Catacombs and Mozeleums I thought why not build my interpretation of their catacombs and mozeleums. I hope you like this newest creation. I think I learned a lot on this project since I hand made everything on this building all except the front door and the trees. I still cant believe I taught myself how to reproduce the 2 large Gothic windows for only about $4 a piece, from a Gothic window I paid $52.00 for. I think I will have to take a break from building big stuff for awhile since about 3 weeks ago I was outside building 50 feet of homemade Picket Fences for my back yard and I blew out my right elbow and have a Large Bursitis Lump on my elbow and lots of pain. Even though the pain did not stop me from building this house, it didn't get any better either.
Funny thing is that while I was adding all the paper clay around my hill I felt like Richard Dreyfuss on that Movie -Close Encounters- where he brings in all the mud and puts it on the dining table and starts sculpting the mountain, and his family thinks he's going crazy!!. I hope you all like my newest creation. Have a wonderful June Everyone!!!

See the entrance to the Catacomb- this was an after thought to put this in. See pictures below.


I call the 2 coffins my Love Bird Coffins. It took me about 5 hours to make the 2 matching coffins.

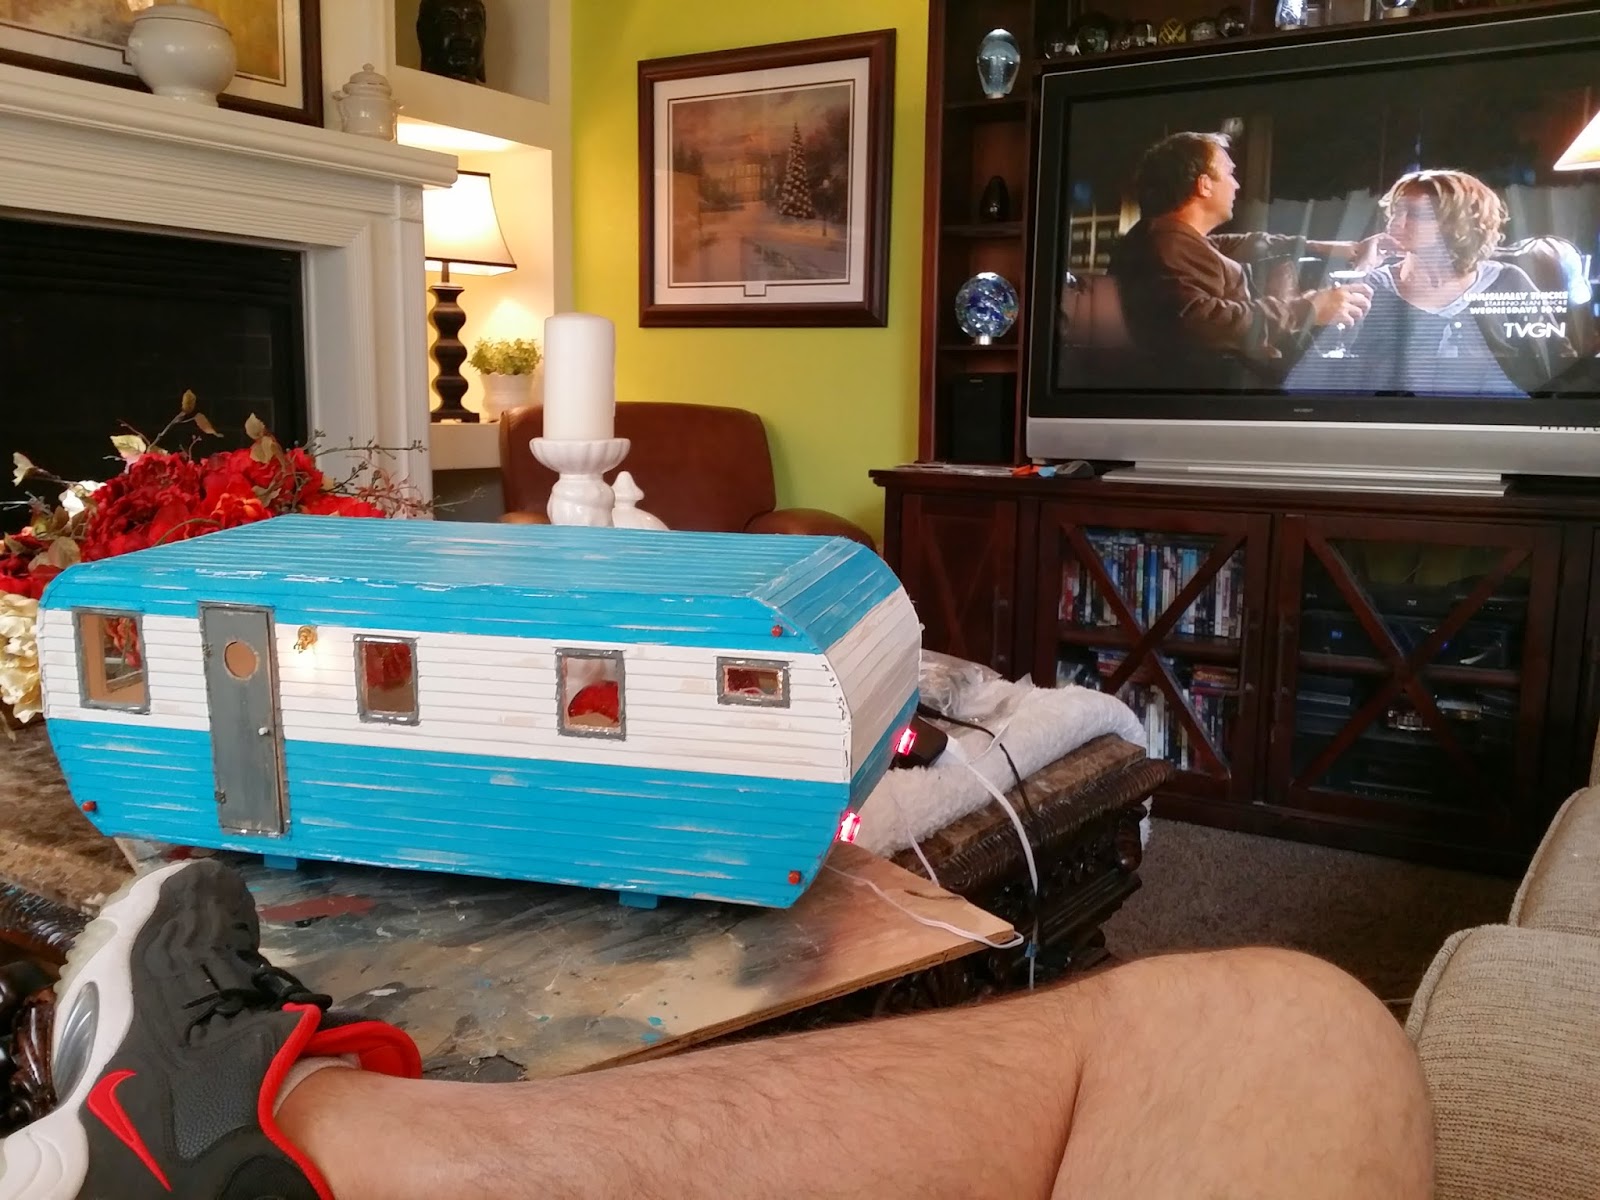
My daughter took a picture of me with this newest project so that you will be able to see the scale of this project.

Yes of course I build everything in my back living room on the coffee table!!!


I think the stairs turned out really cool looking.


When I made the coffins I thought why not add in some bones that I made out of plaster. But I needed some hair for them to make them a man and woman. My Dog Reba was laying next to me and she got a trim job on her belly to give me the hair. I love improvising for free material. It was clean hair since I had just bathed all the dogs.

My 2 little tables to hold the coffins that I made out of scrap wood and hot glue, then painted grey, then painted a crackle paint on and let dry, then add white paint.

The Catacomb. I think it turned out really cool for such a small space. Its a little creepy but this was my first time I ever tried to make Mummies. I have more pictures below of the mummies that I made out of my plaster bones and oven baked clay. I wanted a touch of red throughout the catacomb to flow with the red coffins above. So I used the Plastic Containers that come in Medicine bottles to keep your medicine dry. I wanted to make them look like Cremation Containers, thus I have 1 that I made look like its broke open with dust and bone so people will know what they are.

All the shelves in the Catacomb are made out of Popsicle sticks I have lots of and hot glue, then painted on some crackle paint which dryed to fast before I painted the grey on top, so I just used a razor blade and scrapped all the edges to make them look old.

The mummy on the table is my favorite. There are some better pictures below.


The ceiling and the catacombs I mixed sand and dirt and grey paint and some elmers glue- which was as thick as peanut butter and painted them on the walls and ceiling to give the cement or dirt wall look.


I don't know why but I really like the look of the catacomb entrance.


My little mummies are a little creepy but I think their adorable. This was a learning experience also. I used my already made plaster bone and added oven baking clay around the bones then baked them. But the darn clay stuck to the pan and each mummy broke apart trying to get them off the pan. So this let me to Hot Glue them back together before I painted them. Lots of Learning.


Since there was too much grey on the hill stones, I decided to dry brush on some brown paint, the dry brush on some black paint to make the hill look more like stones. This was my first time ive ever done a hill like this, so I think it turned out pretty good for my first time.

This is my hidden electrical area.

When I was putting on the paper clay I stopped the clay before the electrical, then I build a small wood box around the electric, then I put it in place with plastic wrap behind it. Then I added the clay to the electrical surround box, thus it blend right into the other clay and doesn't stick to it. It took about 3 hours with the fan on to dry it enough to remove the plastic and let it dry better for a couple of days. After a week its still drying and probly will take a complete month to dry deep within.

In this picture I had just painted the steps the same color as the roof to give a cohesive looks throughout the project. There was way too much grey, then


Im very glad I put the tunnel entrance in, which gave the hill a cooler look.

So at Midnight this is me changing my design and taking off the paper clay I had just put on and then tearing out the stirofoam, then spending about 1 hour to try and tear the wood off the end of the tunnel since I used so much Hot Glue it was Horrible to tear off and a couple of finger cuts prying at the wood with a knife and screwdriver. But I was very please with the final result.

This is when I had just finished adding all the paper clay I mixed up with water, almost 20 pounds of wet clay, it took me about 1 hour to add it all. This is around Midnight that I am staring at it and I though why the Hell did I put in a tunnel in my catacomb that goes nowhere.

I decided not to cover the foam steps with paper clay since they were so smooth and I liked the look.

Im trying to show you how I randomly added the insulation foam around the catacomb box to give it its shape. I paid about $6 per square of insulation foam from Home Depot which took me about 2 1/2 pieces since they were only 2x2. I could have saved lots of money by buying there 8 foot tall sheet by 4 foot wide, but I had my car and it would not fit. I never seem to be driving the truck when I find what im looking for.

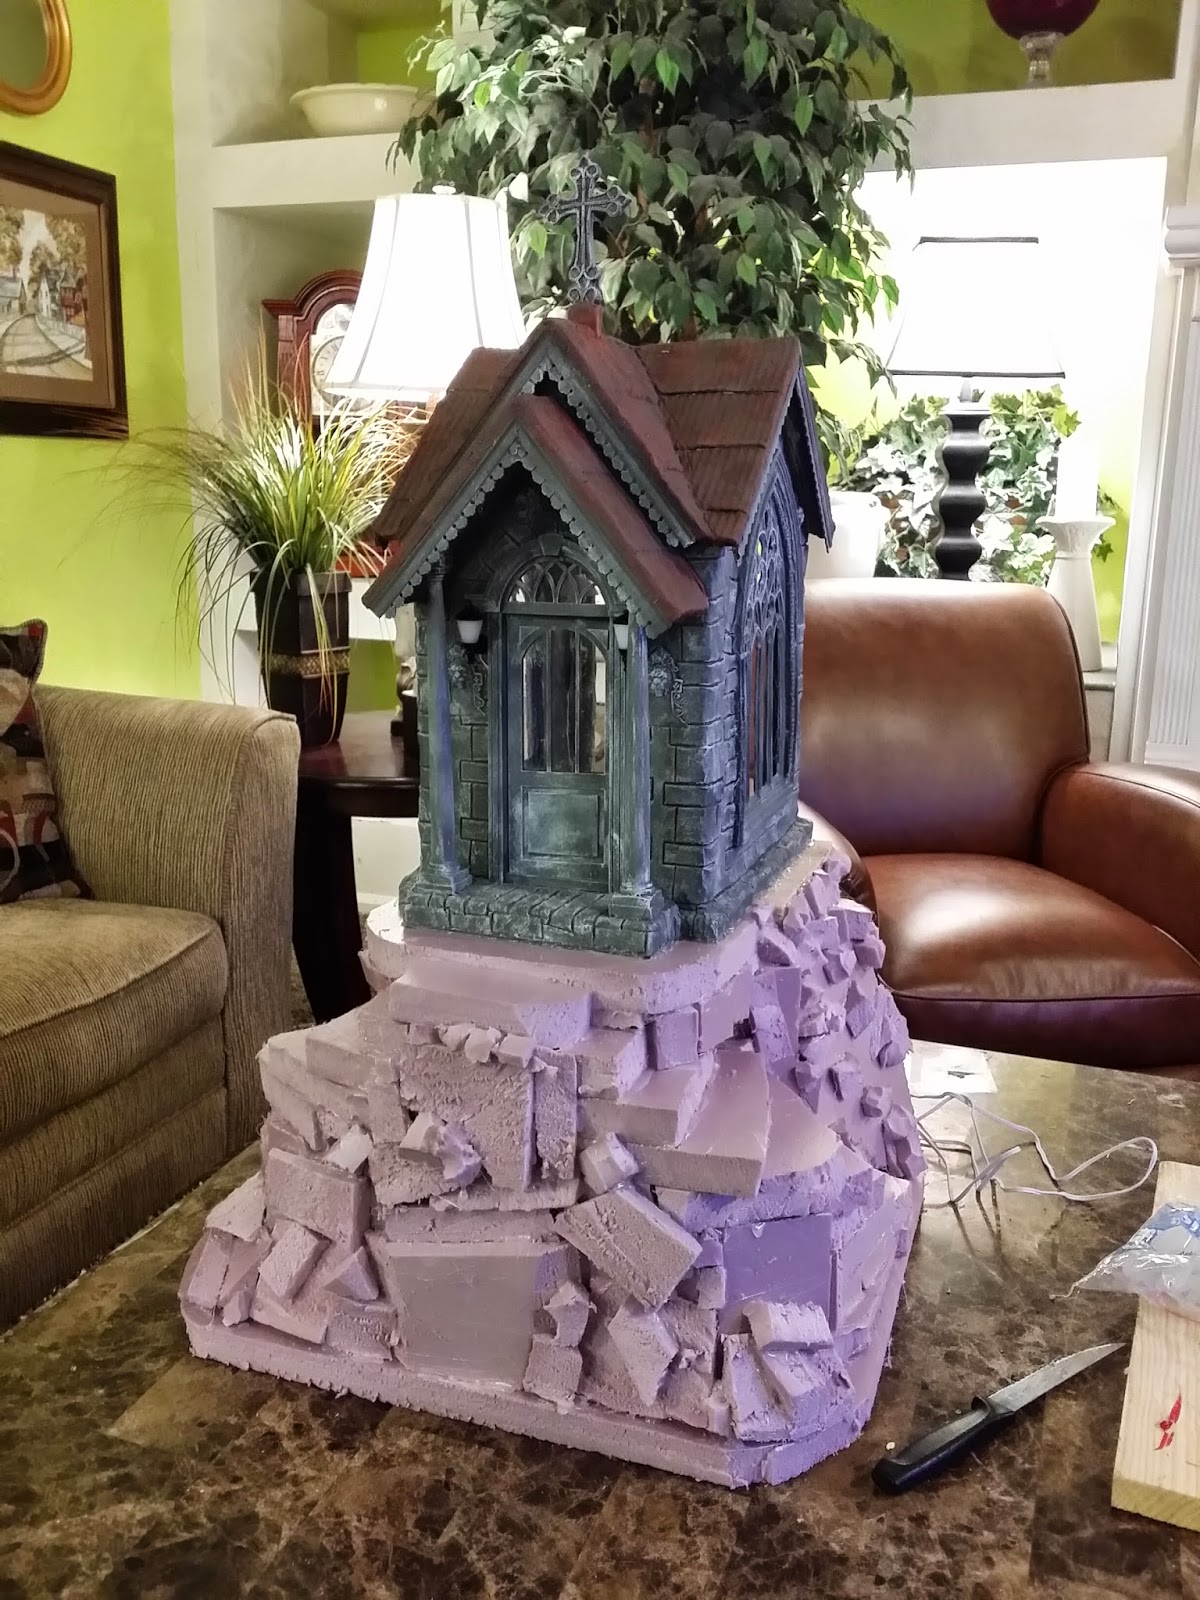
As you can see the catacomb tunnel that went nowhere. Until I was inspired in the middle of the project to make it go somewhere.

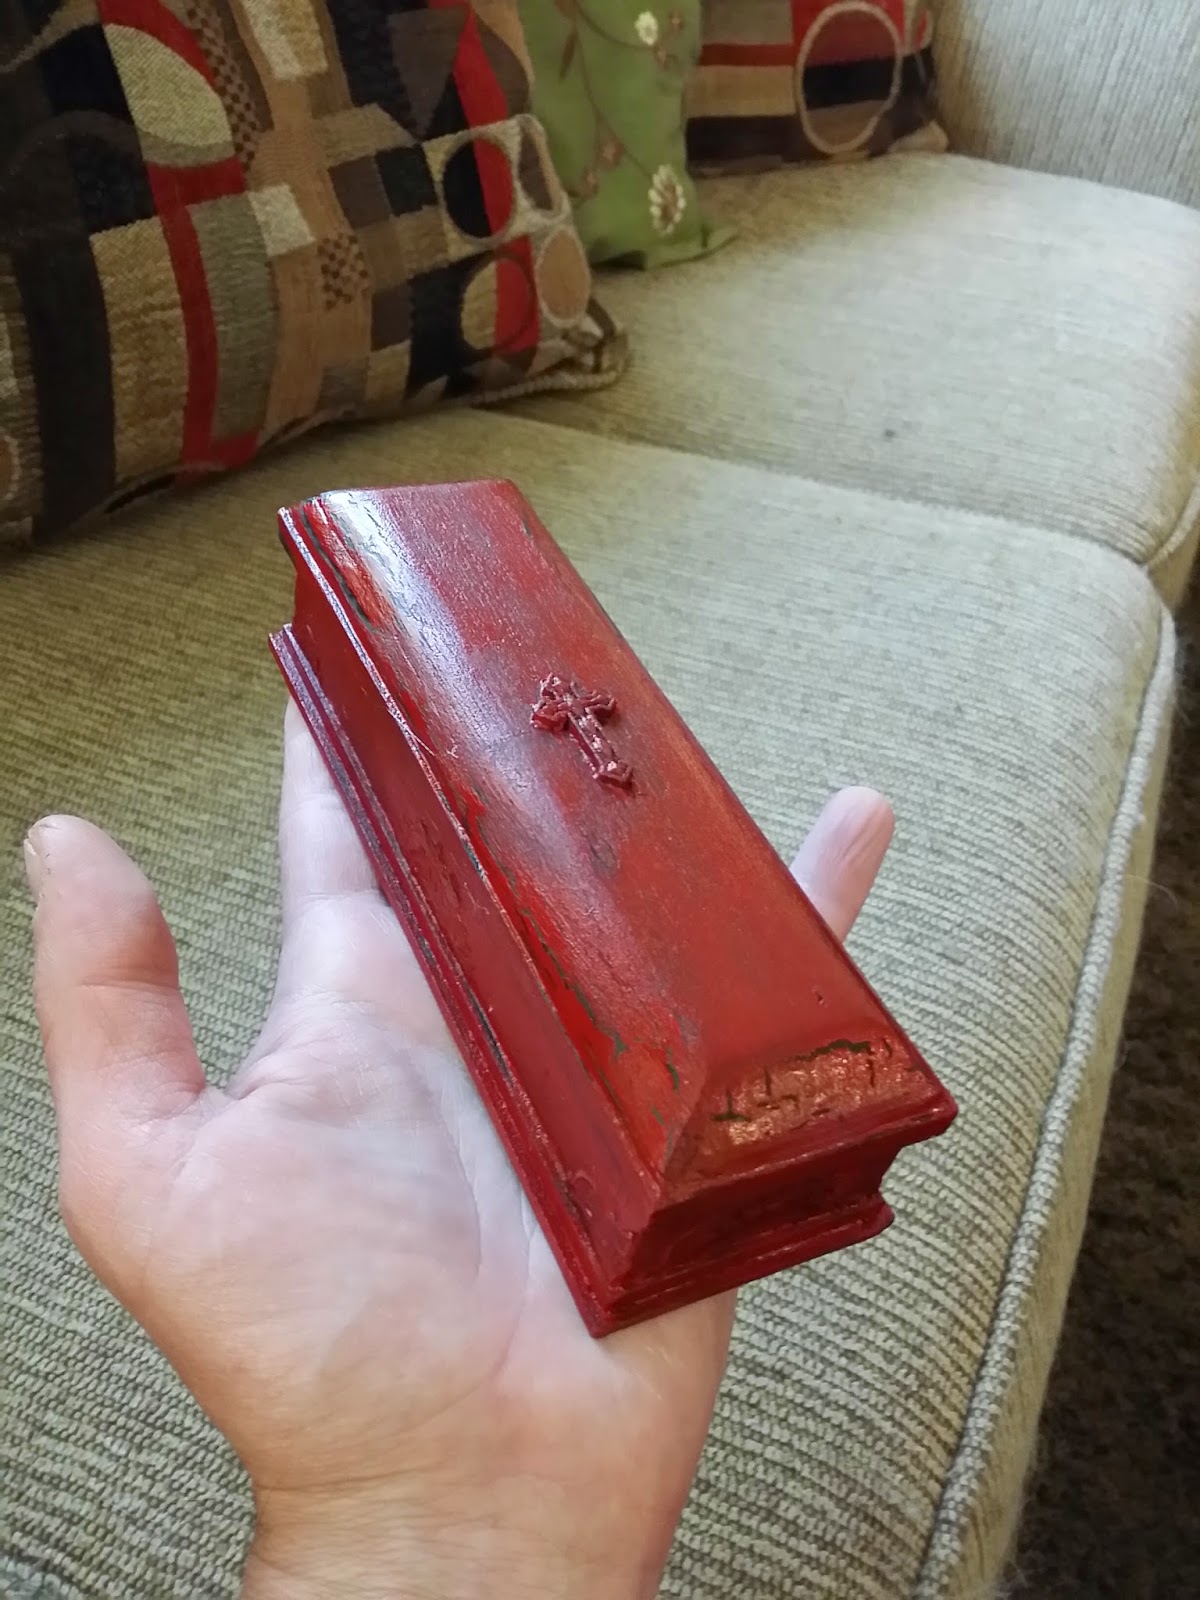
My little love bird coffins.

If you notice the lions head around and on the inside of the mozuleum and catacomb, I used more molding stuff on some lion heads I had and used paper clay to make them. Once I took the compressed paper clay out of the lion head mold, I let it dry then added it to the surface when I was adding the wet paper clay to make the stones.


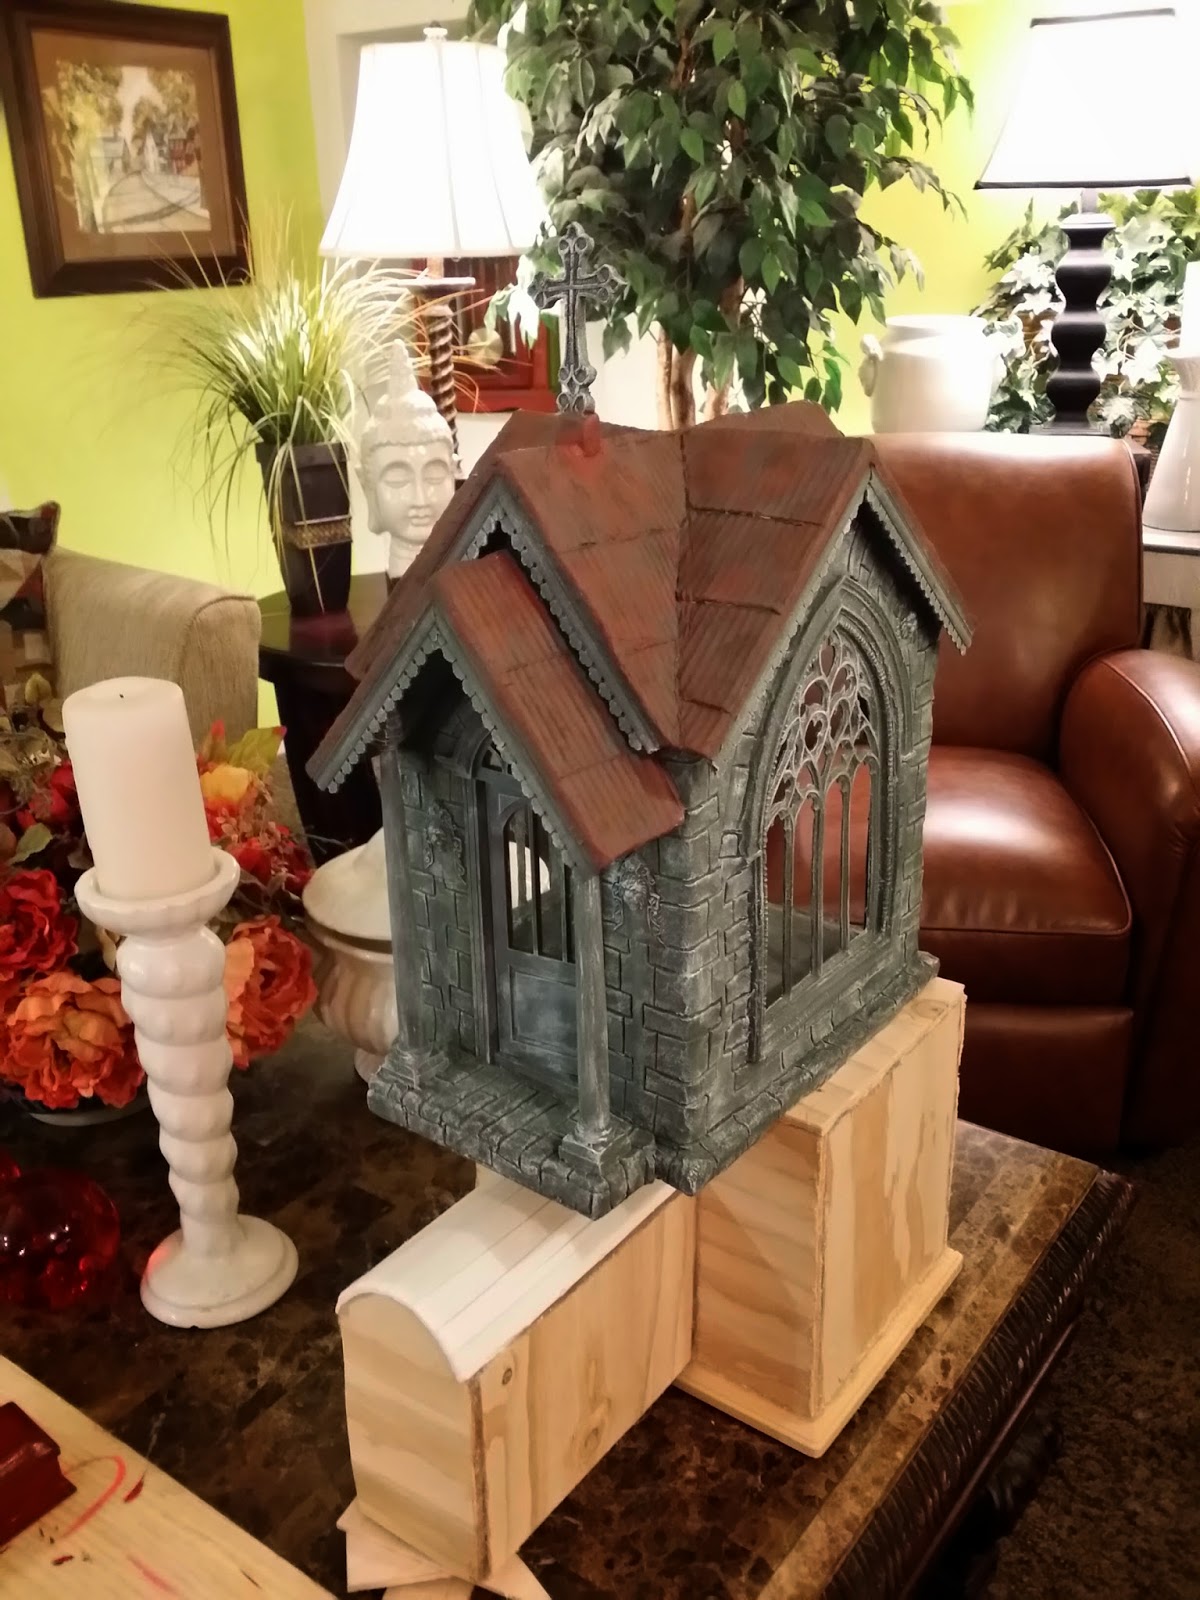
The beginning of the house as I am trying to think in my mind how I want it to look.

My completed windows I made out of resin. I was pretty proud for teaching myself how to do this since I refused to pay another $52 to buy the window again, plus since it took 2 months to come in the mail since someone else had to make it. There not perfect, but I don't believe in perfection, cause I can just cover up the flaws.

I made a big batch of Homemade Molding Material, by mixing up 100 % silicone caulk and Corn Starch. I used a large tub of the silicone and pour it into some corn stark and started mixing about 1 1/2 boxes of corn starch into the silicone, just till the silicone wouldn't take any more corn starch. Don't forget to put lots of Vaseline on your hands. I used lots and nothing stuck to my hands. Once I thought the mixture felt more like a flexible rubber I then pushed it on top of my Gothic window. Then I let it dry for about 4 hours until it felt pretty hard, the drying time really varies, but I didn't want it to get to hard and not able to get it off the window. PS also got to add Vaseline to the window so the silicone mold comes off it easier. Once I took the mold off the window I let it dry a couple more hours. Then I used the Resin liquid and mixed it and pour it into the mold and let dry until it turned white like on the directions then I took the new windows out and trimmed any excess. This was a lot of work, but fun for my first time ever using a Resin. Not counting the cost of the silicone mold I made for around $7 compare to where it cost $20 for 1 box of Mold Making Clay and I would need 4 off them to cover the window it would have cost me around $80 for the yellow and white Mold Making product you can buy from Hobby lobby. The Resin was $14 and I was able to make 4 windows out of the resin, costing me about $4 each. The Downfall is the Silicone mold I made only last for the 4 windows since it wasn't very dry and started to break apart. I researched for hours on the internet on making my own molds and not one person was very specific in directions and listed items in their ingredients that they never mentioned how much to add so I made it with just 2 ingredients. But it saved me lots of money.

All my little skulls and bones I made out of plaster. I used some of my homemade mold mix for some bones and some store bought mold mix since it is more flexible. It took me a couple 2 or 3 days to make all these bones.